D2L (the company that owns Brightspace) uses Continuous Delivery to update our Brightspace system. The Continuous Delivery model gives us regular monthly updates allowing for incremental and easily integrated changes with no downtime required for our Brightspace system.
Our Continuous Delivery update occurs on the 4th Thursday of each month. D2L provides release notes to help users stay up-to-date with the changes.
Here are some of the updates in the March 2026/20.26.03 release that were added to our system this month:
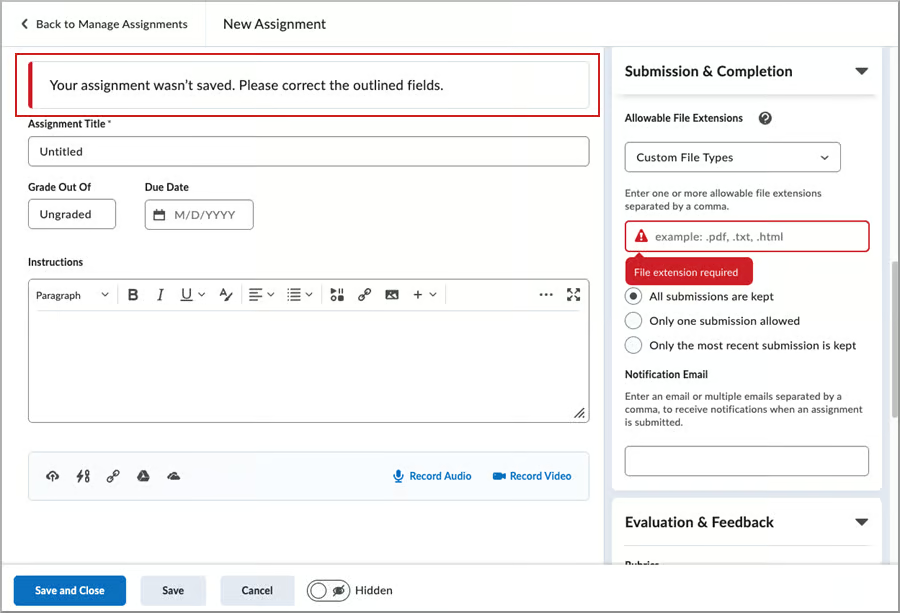
1) Awards – Longer text fields and preserved formatting for Badges and Certificates
o provide greater flexibility when creating Awards, instructors can now enter more detailed information in award text fields. This update increases character limits and preserves formatting, allowing clearer criteria, descriptions, and evidence to display consistently across Award views.
The following fields now support increased character limits:
- Name (256 characters)
- Description (512 characters)
- Criteria (1000 characters)
- Evidence (on issued award) (1000 characters)
Previously, text fields had lower character limits, which restricted context and detailed instructions. In addition, line breaks entered in these fields were not consistently preserved when Awards were displayed.
This feature implements the following PIE item:
- D13138 – Awards description field
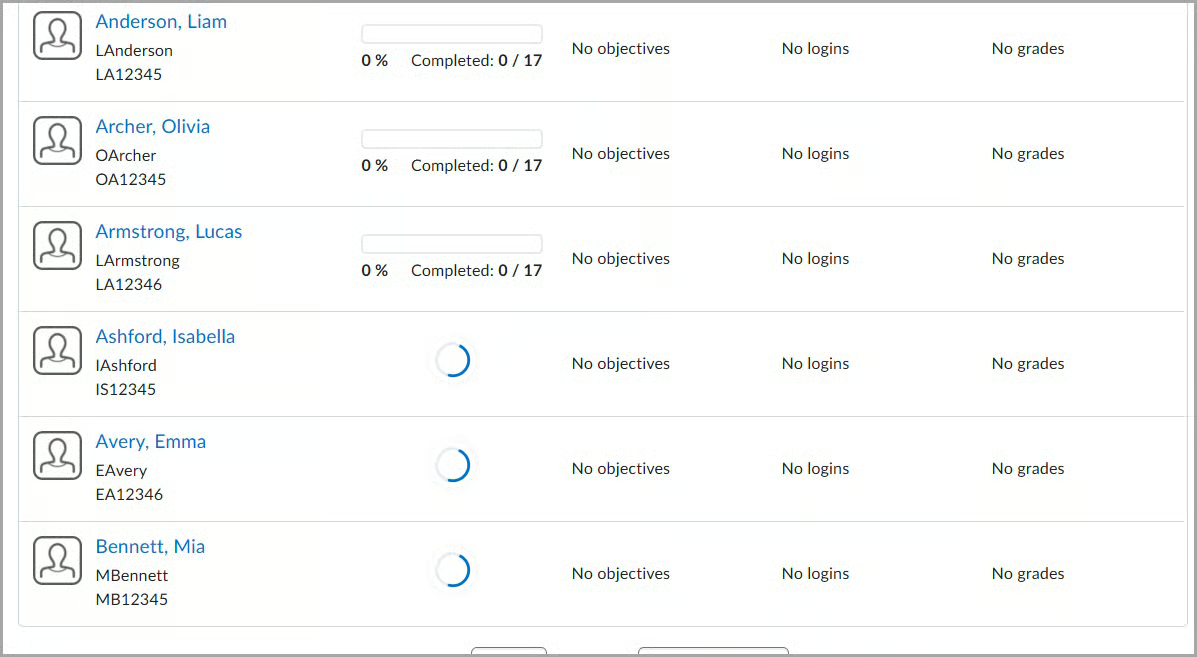
2) Classlist – export Classlist details to CSV and improved Print output
Instructors can now export Classlist details to CSV. The Export button enables full or partial user exports, mirroring Classlist view content for offline or administrative use.
Printed Classlists now include pronouns (if visible) and course identifiers, providing more complete context for in-person workflows and record keeping.

This feature implements the following PIE items:
- D9855 (Printing Classlist with pronouns)
- D9391 (Classlist – allow export of pronouns)
- D2124 (Export of Classlist)
- D6948 (Classlist to Excel or CSV)
- D2658 (Include course title with Classlist printout)
- D9215 (Show course offering code on exported or printed Classlist)
- D6667 (Classlist export)
3) Pulse – Engagement tracking improvements
This release improves the reliability, timeliness, and consistency of engagement tracking from Pulse. This enhancement ensures that engagement data more accurately reflects how learners are interacting with their courses across platforms.
Engagement related events in Pulse are now logged immediately. For example, when a learner taps on a course to open it, the Course Access details are sent to the database, the Last Accessed date in Classlist updates, and an Intelligent Agent that checks for course engagement knows not to notify the instructor. Downstream tools that report on learner engagement now represent both Web and Pulse activity equally.
Previously, Pulse events were sent asynchronously in batches, resulting in missing or late engagement tracking data and discrepancies between different tools.
Key improvements:
- System Access Start events are sent immediately when the app is launched.
- System Access Start events are decoupled from System Access End events.
- When the app is in the background or idle, System Access End events are sent after 30 minutes of inactivity.
- Course Access events are sent immediately when a user clicks into a course.
For more detailed definitions of engagement metrics, refer to About engagement and session length data.
This feature implements the following PIE item:
- D13317 (Use both Web and Pulse login for Course Activity)
If you are interested in getting more information about these and all the March Continuous Delivery updates, refer to the Brightspace Platform March 2026/20.26.03 Release Notes.
Additionally, refer to the Brightspace Release Notes for Continuous Delivery Releases, for details about current, past, and to preview upcoming continuous delivery updates.
Want more information?
View current, past, and preview upcoming Continuous Delivery release notes
Instructors Quick Start Tutorial
Brightspace Known Issues
Request a sandbox course
Sign-up for Brightspace training sessions
You can find Brightspace help at D2L's website.
Join the Brightspace Community.
Try these Brightspace How-To documents.
Visit our Brightspace FAQs for additional Brightspace information
or schedule a one-on-one session, email, or
call Janice Florent: (504) 520-7418.
Note: Are you doing something innovative in Brightspace or perhaps you've discovered a handy tip? Share how you are using Brightspace in your teaching and learning in The Orange Room.