
D2L (the company that owns Brightspace) uses Continuous Delivery to update our Brightspace system. The Continuous Delivery model gives us regular monthly updates allowing for incremental and easily integrated changes with no downtime required for our Brightspace system.
Our Continuous Delivery update occurs on the 4th Thursday of each month. D2L provides release notes to help users stay up-to-date with the changes.
Here are some of the updates in the July 2026/20.26.07 release were added to our system:
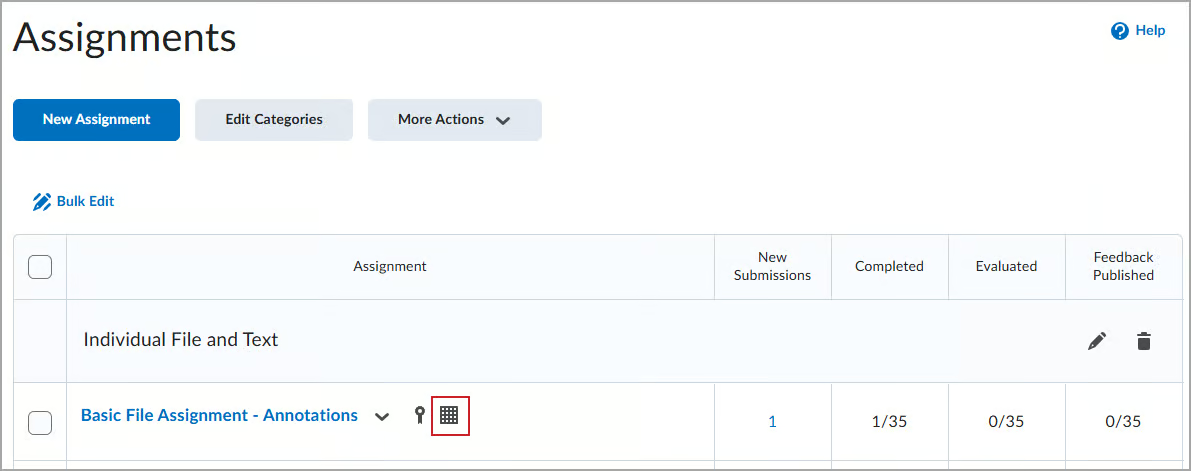
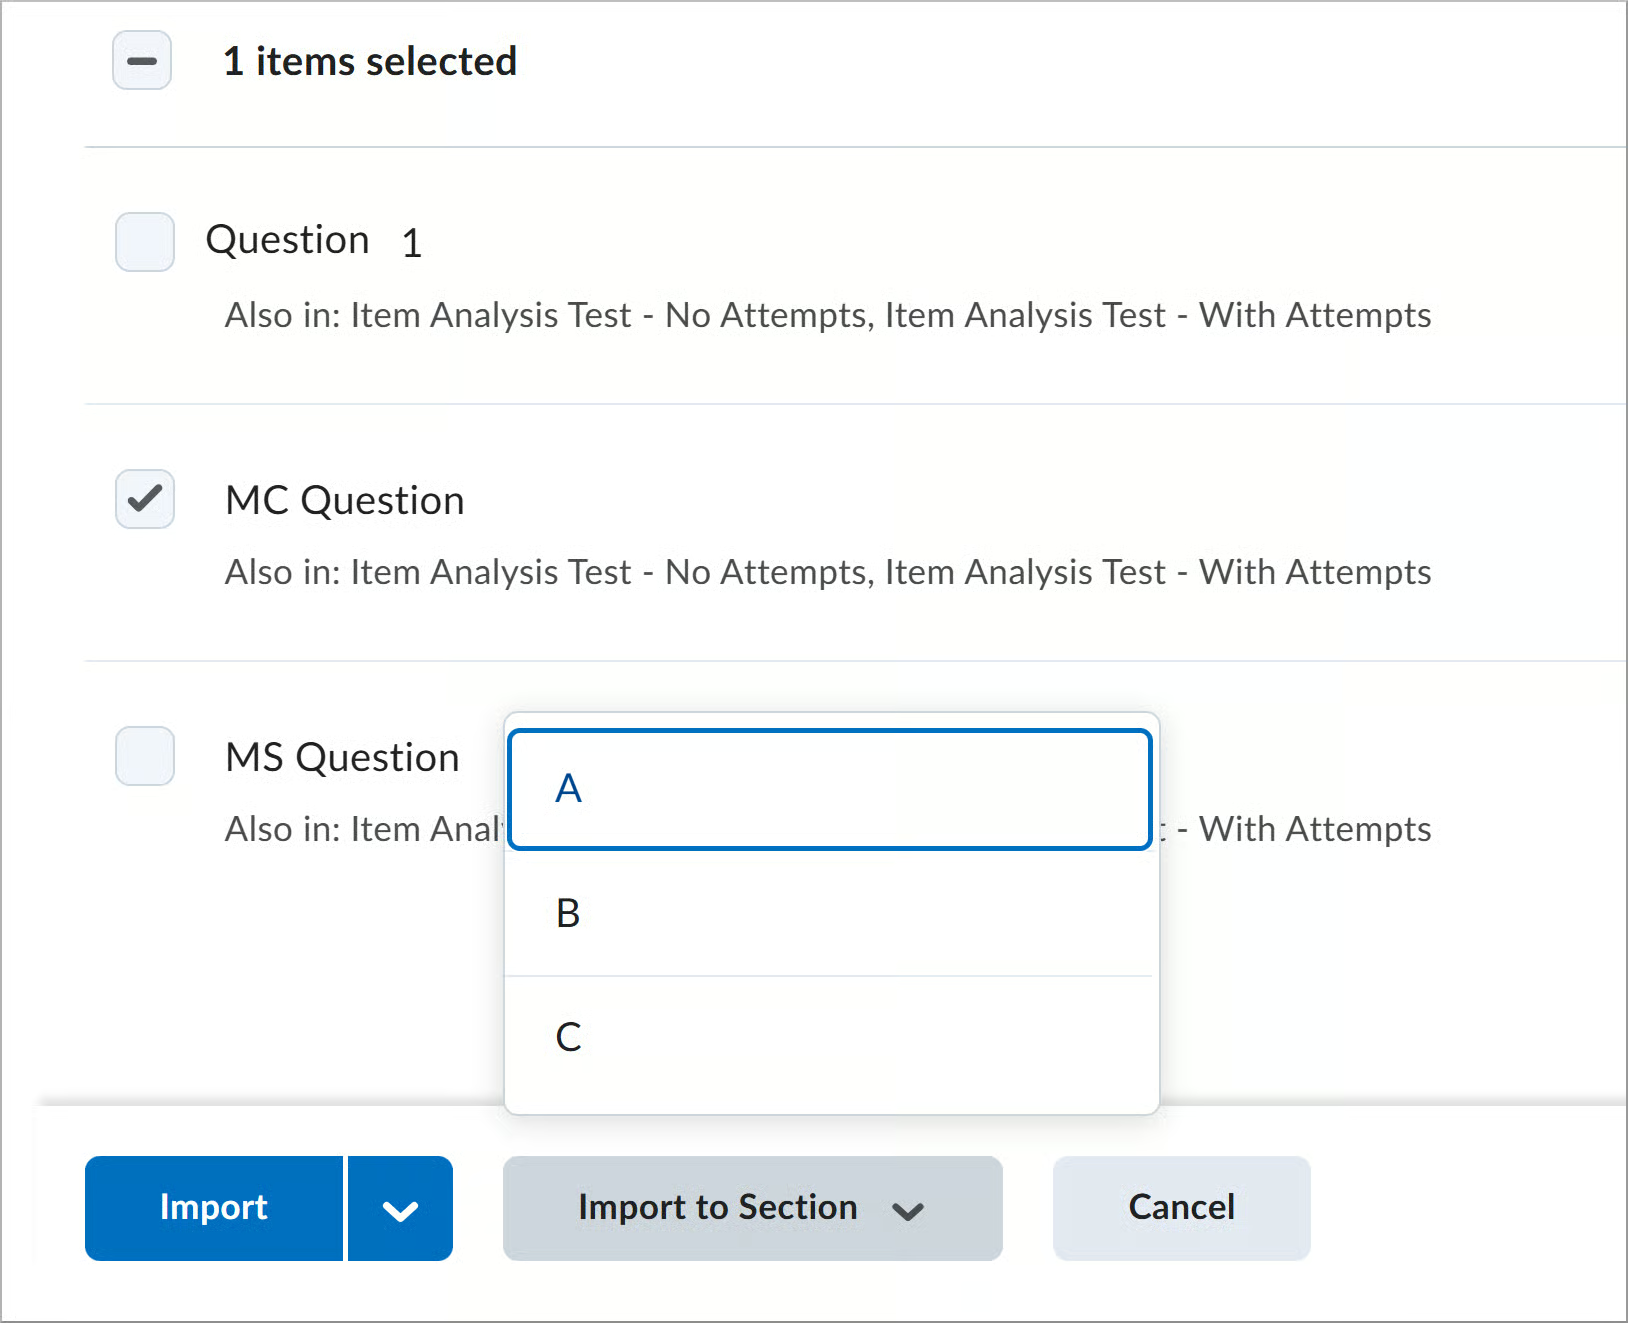
1) Assignments – Publisher selection dropdown locks after learners begin an activity
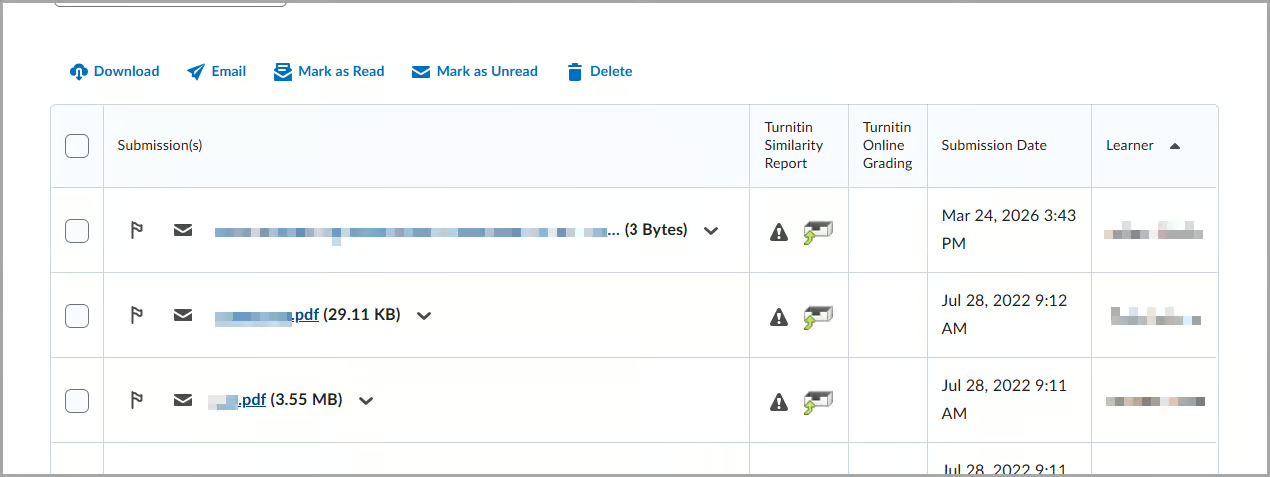
After learner submissions begin, instructors can no longer change the Publishers setting on the assignment creation page. Locking the Publishers setting after submissions begin ensures that publishing rules remain clear and predictable during evaluation and publishing workflows. Changing publisher rules after activity is underway can affect who can publish evaluations and may result in conflicts that require additional intervention. This update provides a smoother, more reliable evaluation and publishing experience.


Important: To change the publisher selection after the dropdown locks, instructors must recreate the assignment and ask learners to resubmit. To avoid this scenario, review publisher selections during course setup and before the assignment is available to learners. For assignments that use Advanced Assessment, confirm which publishers can publish evaluator evaluations before submissions or evaluations begin.
Instructors can use start dates or hide assignments until the required configuration is complete. After submissions or evaluations begin, instructors can still add, update, enroll, or unenroll publishers. Only the publisher selection dropdown is locked.
Previously, instructors could change the Publishers configuration after receiving submissions.
2) Discussions – Anonymous Discussion posts are visible when assessing learners and viewing statistics
With this update, instructors with the See Anonymous Post Author permission can view anonymous posts when assessing individual learners in Discussions. Anonymous posts display an Anonymous post label to indicate that the learner posted anonymously.
Previously, instructors with the See Anonymous Post Author permission could reveal a learner's name on an anonymous discussion post, but they could not see anonymous posts when assessing learners or view discussion statistics that included anonymous posts.

Instructors without the See Anonymous Post Author permission continue to be unable to assess anonymous posts.
Discussion statistics now include anonymous post counts for roles with permission to see anonymous post author information. Statistics include counts only for anonymous posts created after this feature is introduced.
3) Groups – Increased limit for groups per category (200 to 1000)
Categories that allow instructors to specify the number of groups now support up to 1,000 groups. Single-user, member-specific enrollment type groups also support up to 1,000 groups per category.
This update makes it easier to create larger group sets in high-enrollment courses.
The 1000-group limit applies to all group creation methods and cannot be exceeded. This includes creating groups on the Manage Groups page, creating groups using the API, and automatically creating groups when enrollment capacity increases.
Previously, instructors could create up to 200 groups per category.
This feature implements the following PIE items:
- D888 (Ability to create more than 200 groups in one Group Category)
- D6824 (Max number of groups per category)
If you are interested in getting more information about this and all the May Continuous Delivery updates, refer to the Brightspace Platform July 2026/20.26.07 Release Notes.
Additionally, refer to the Brightspace Release Notes for Continuous Delivery Releases, for details about current, past, and to preview upcoming continuous delivery updates.
Want more information?
View current, past, and preview upcoming Continuous Delivery release notes
Instructors Quick Start Tutorial
Brightspace Known Issues
Request a sandbox course
Sign-up for Brightspace training sessions
You can find Brightspace help at D2L's website.
Join the Brightspace Community.
Try these Brightspace How-To documents.
Visit our Brightspace FAQs for additional Brightspace information
or schedule a one-on-one session, email, or
call Janice Florent: (504) 520-7418.
Note: Are you doing something innovative in Brightspace or perhaps you've discovered a handy tip? Share how you are using Brightspace in your teaching and learning in The Orange Room.


