
D2L (the company that owns Brightspace) uses Continuous Delivery to update our Brightspace system. The Continuous Delivery model gives us regular monthly updates allowing for incremental and easily integrated changes with no downtime required for our Brightspace system.
Our Continuous Delivery update occurs on the 4th Thursday of each month. D2L provides release notes to help users stay up-to-date with the changes.
This update from the June 2026/20.26.06 release was added to our system:
1) Brightspace – Rubric Icon in Assignments, Discussions, and Quizzes
Instructors can now identify which Assignments, Discussions, and Quizzes include attached rubrics directly from list pages, helping instructors and administrators quickly audit assessments, confirm rubric setup, and reduce configuration errors.
When a rubric is attached to an activity, a rubric icon appears beside the item in the Assignments, Discussions, and Quizzes list pages. Written response questions in the Quiz Creation page also display a rubric indicator when a rubric is attached. Activities that include both rubrics and learning outcomes continue to display the rubric icon.
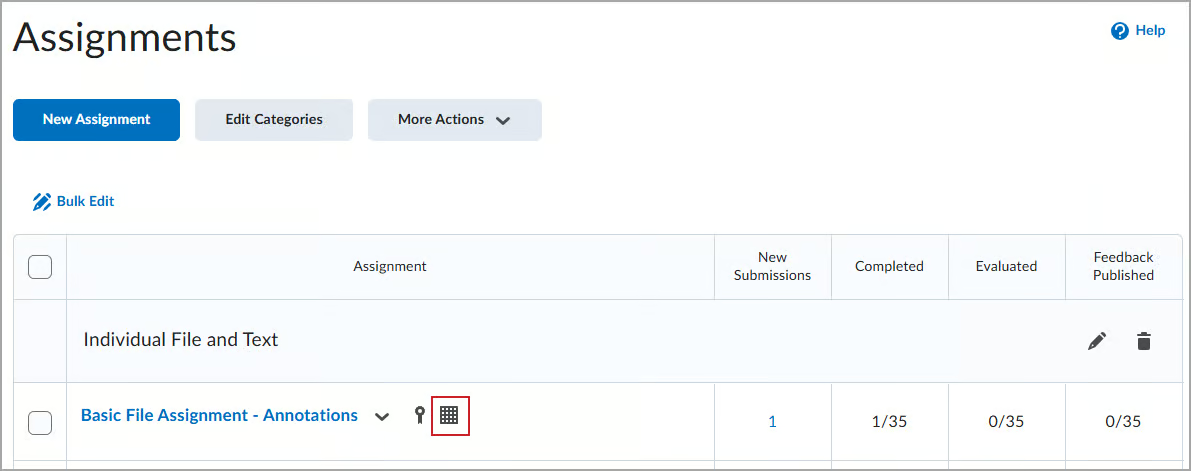
The rubric icon is informational only and does not link to the rubric, consistent with other informational icons such as release conditions and anonymous marking.
This feature implements the following PIE item:
- D5453 (Rubric Used on Assignment or Discussion Indicator Symbol)
If you are interested in getting more information about this and all the June Continuous Delivery updates, refer to the Brightspace Platform June 2026/20.26.06 Release Notes.
Additionally, refer to the Brightspace Release Notes for Continuous Delivery Releases, for details about current, past, and to preview upcoming continuous delivery updates.
Want more information?
View current, past, and preview upcoming Continuous Delivery release notes
Instructors Quick Start Tutorial
Brightspace Known Issues
Request a sandbox course
Sign-up for Brightspace training sessions
You can find Brightspace help at D2L's website.
Join the Brightspace Community.
Try these Brightspace How-To documents.
Visit our Brightspace FAQs for additional Brightspace information
or schedule a one-on-one session, email, or
call Janice Florent: (504) 520-7418.
Note: Are you doing something innovative in Brightspace or perhaps you've discovered a handy tip? Share how you are using Brightspace in your teaching and learning in The Orange Room.


