
D2L (the company that owns Brightspace) uses Continuous Delivery to update our Brightspace system. The Continuous Delivery model gives us regular monthly updates allowing for incremental and easily integrated changes with no downtime required for our Brightspace system.
Our Continuous Delivery update occurs on the 4th Thursday of each month. D2L provides release notes to help users stay up-to-date with the changes.
Here are some of the updates in the October 2025/20.25.10 release that were added to our system this month:
1) Assignments — Annotation availability awareness enhancements in assignment creation
Annotations are only supported for File and File or Text Assignment Types. They are not supported for Text, Observed in person, or On paper submission assignment types. In response to requests from instructors for clearer indicators of which types of assignments support Annotations, D2L enhanced the assignment creation experience with better tool tips, visual cues, and on-screen guidance.
New informational tool tip
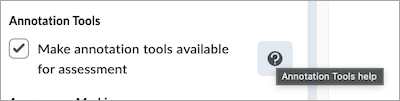
To make it easier for instructors to understand what the Annotations tool does and which types of assignments you can use it with, a new informational tool tip now appears beside the existing Annotations check box in the interface for creating assignments.
When you hover over the new information ( ? ) button, a tool tip displays Annotation Tools help.
Clicking the information ( ? ) button opens a pop-up window that explains what the Annotations tool does, and which types of assignments you can use it with. The text in the new window is as follows:
Information: Annotation Tools
Use annotation tools to add feedback directly to the uploaded documents by highlighting, drawing, and commenting. This is available for file submissions only.

Clear visual indicators make it easy to identify which assignment types support Annotations
To make it easier to immediately understand whether you can use Annotations on an assignment, the Annotations check box now appears disabled (grayed out) for non-file type assignments, such as Text, Observed in person, or On paper submission assignments.

Updated on-screen guidance
New on-screen guidance indicates when instructors can no longer enable Annotations for an assignment and why.
Guidance for non-file Assignment types
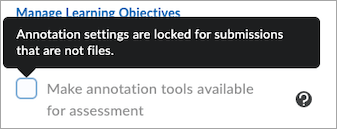
When you cannot enable Annotations for an assignment because the type is Text, On paper submission, or Observed in person, hovering over the Annotations check box displays the following message:
Annotation settings are locked for submissions that are not files.
Guidance displayed for assignments after submissions are received
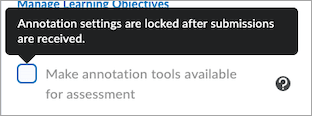
When you cannot enable Annotations for an assignment because learners already made submissions while the setting was disabled, hovering over the Annotations check box displays the following message:
Annotation settings are locked after submissions are received.
2) Assignments — Improved assignment type selection interface
A usability improvement makes it easier to select the correct assignment type when you create an assignment.
Previous behavior
Previously, instructors used radio buttons to specify whether an assignment was for a Group or an Individual.
New drop-down menu for selecting Assignment type
A new drop-down menu for selecting the Assignment Type modernizes the interface and lays the groundwork for future enhancements to the Assignments tool.

3) Grades – Comments and Assessments column always visible to learners
Learners can now always see the Comments and Assessments column in Grades, ensuring that feedback and links to assessments are consistently visible. The column is no longer conditionally displayed, supporting additional links from tools such as Rubrics, Assignments, and Quizzes.
This update supports future enhancements that add information to learner feedback in Grades.
Previously, the column only appeared when a grade item included feedback.

4) Media Library – Improved Media Library to help better organize and manage your course assets
This release introduces several new features to improve the capabilities of the Media Library and allow users to have a wider variety of assets that can be reused in their courses.
These improvements include:
- Add Images, Office Documents, PDFs, and SCORM packages directly to Media Library for re-use across your courses.
- Use Media Library’s new Manage Versions menu to upload and manage a new version of your asset.
- Create folders to better organize your assets by type, subject, or however you’d like.
- Share a folder with another user by adding them to a folder as a collaborator.

The following file types can be uploaded to Media Library:
- Video: .mp4, .avi, .f4v, .flv, .m4v, .mov, .webm, .wmv, and the ability to optimize for streaming (2GB max and up to 720p output)
- Audio: .mp3, .m4a, .ogg, .wav, .wma (1GB max)
- Document: .doc, .docx, .odt, .xls, .xlsx, .rtf, .pdf, .ppt, .pptx, .pps, .ppsx, .odp
- Image: .jpg, .jpeg, .png
- Course Package: .zip (SCORM Only)

5) Quizzes – Hide Quiz Question Points
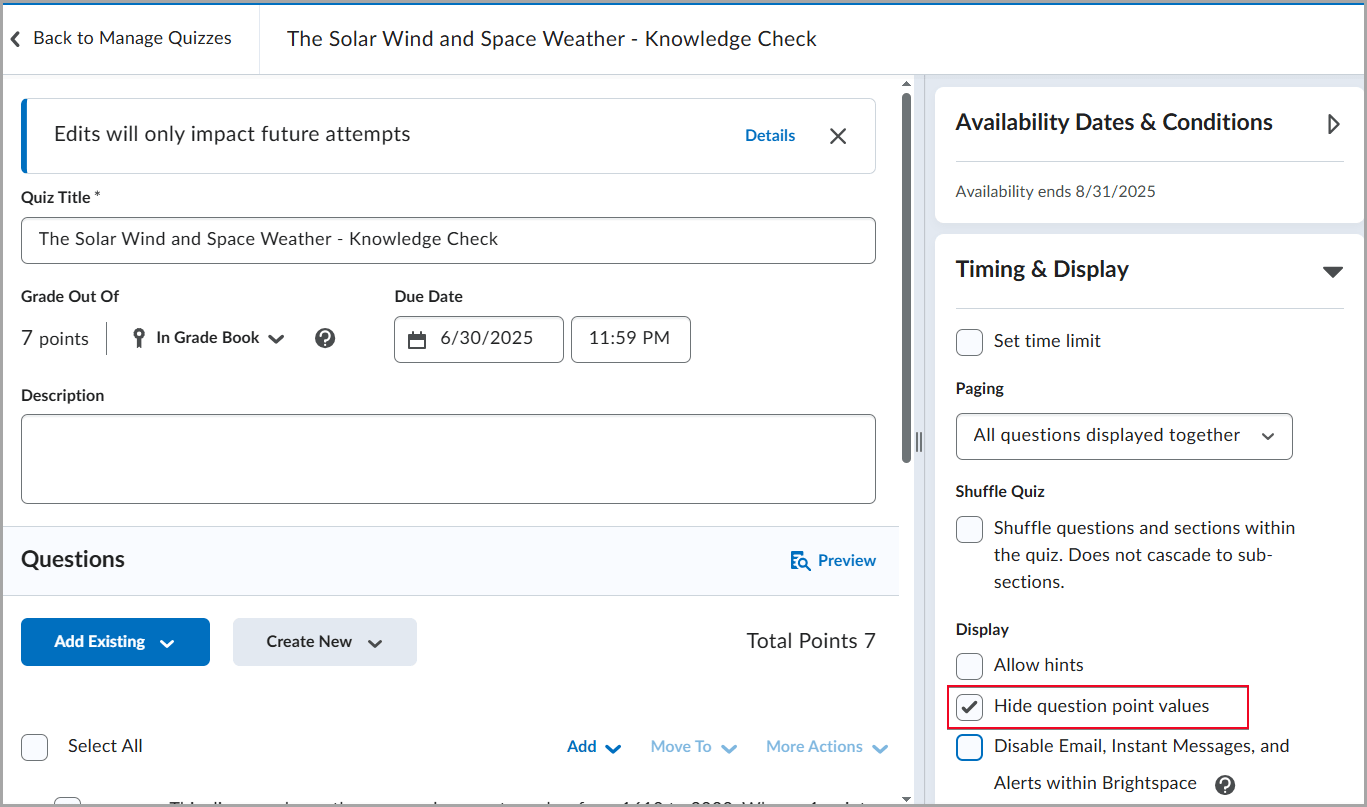
Instructors can now hide the point value for quiz questions to ensure learners focus on all questions equally, without the risk of inferring the number of correct answers based on point value. This feature is particularly useful in scenarios like employee training and association quizzes.
The new feature helps with the following:
- Avoiding Hints in Multi-Select and Written Response Questions. Hiding point values prevents learners from guessing the number of expected answers based on the score, promoting a more consistent effort across all question types.
- Diagnostic Assessments. This option is beneficial for assessments like subject knowledge audits or start-of-term baseline knowledge checks, where the purpose is to gauge understanding rather than focus on scoring.
- Encouraging Equal Effort Across Questions. By hiding point values, learners are less likely to prioritize certain questions over others based on points. Hiding point values ensures a balanced effort and enables the inclusion of control or bonus questions without indicating their significance.
A new option is available within the Timing & Display section when creating or editing a quiz.
This feature implements the following PIE items:
- D2934 (Hide point value of quiz questions)
- D10418 (Option to hide point value of quiz questions and show linked Learning Outcomes)
6) Quizzes – Improved visibility for insufficient question pools
With this release, instructors can now see a status indicator when a question pool has insufficient questions, allowing them to resolve the issue before learners begin a quiz attempt.
If a quiz attempts to draw more questions than are available in a question pool (for example, 12 questions requested but only 10 available), the interface now displays a warning indicator.
This update adds visual warnings in the following areas:
- The Grading view: If learners have already completed a quiz containing an affected pool, messaging displays in the grading evaluation experience.
- The Manage Quizzes page: A status indicator flags quizzes with insufficient question pools.
- The Edit Quiz page (Quiz Builder): A warning icon appears directly on the affected question pool.
- The Course Import and Course Copy workflows: Validation now prevents importing or copying pools with an insufficient number of questions.


Previously, no visual indicators identified when question pools contained too few questions, and these could be imported or copied without warning.
7) Quizzes – Attempt exports retain line breaks in question content
Instructors can now export quiz attempts using the Export to CSV and Export to Excel options without removing line breaks in question text or answers.
Previously, line breaks in question text and answers were removed during export.
If you are interested in getting more information about these and all the October Continuous Delivery updates, refer to the Brightspace Platform October 2025/20.25.10 Release Notes.
Additionally, refer to the Brightspace Release Notes for Continuous Delivery Releases, for details about current, past, and to preview upcoming continuous delivery updates.
Want more information?
View current, past, and preview upcoming Continuous Delivery release notes
Instructors Quick Start Tutorial
Brightspace Known Issues
Request a sandbox course
Sign-up for Brightspace training sessions
You can find Brightspace help at D2L's website.
Join the Brightspace Community.
Try these Brightspace How-To documents.
Visit our Brightspace FAQs for additional Brightspace information
or schedule a one-on-one session, email, or
call Janice Florent: (504) 520-7418.
Note: Are you doing something innovative in Brightspace or perhaps you've discovered a handy tip? Share how you are using Brightspace in your teaching and learning in The Orange Room.


